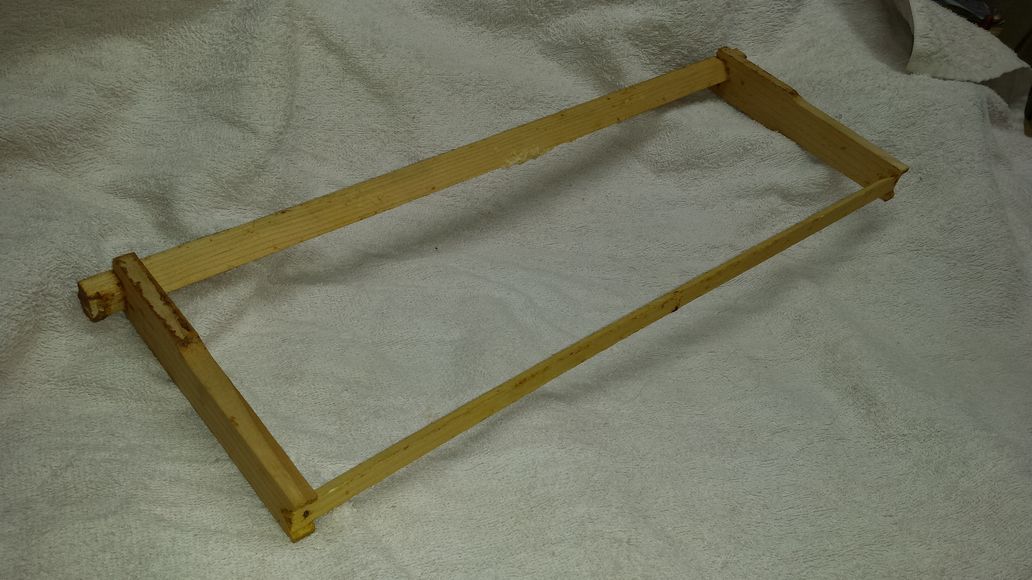
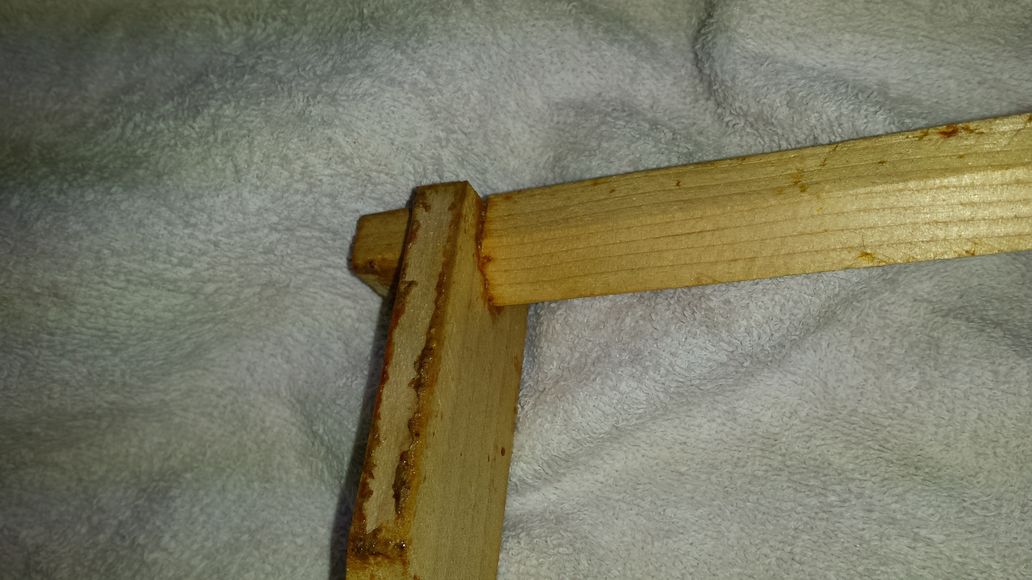
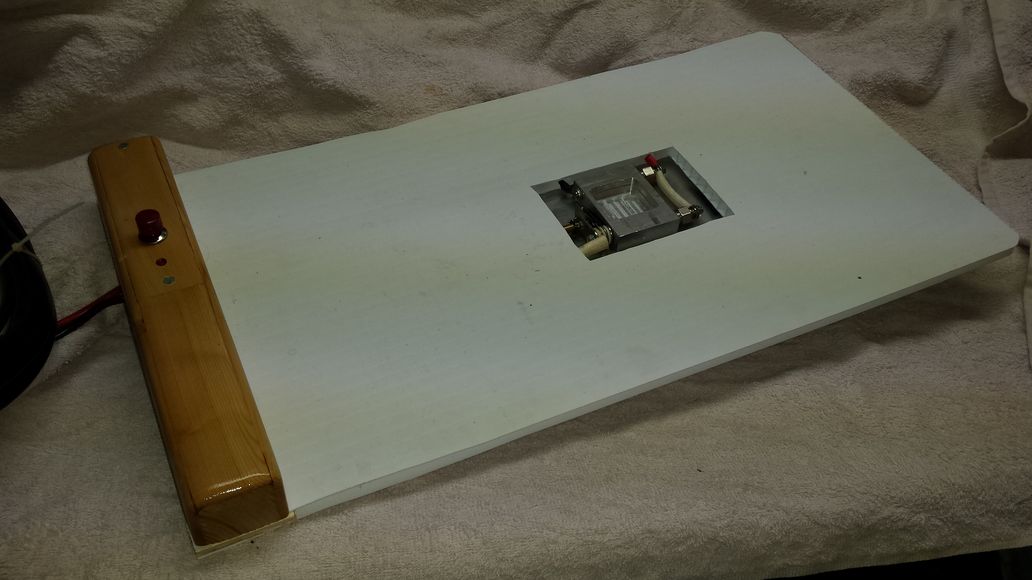
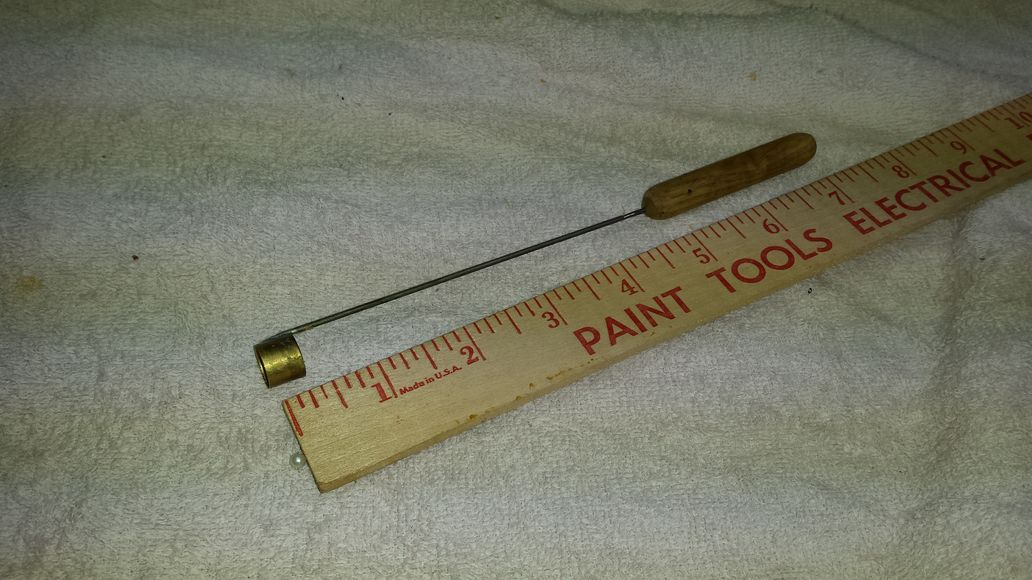
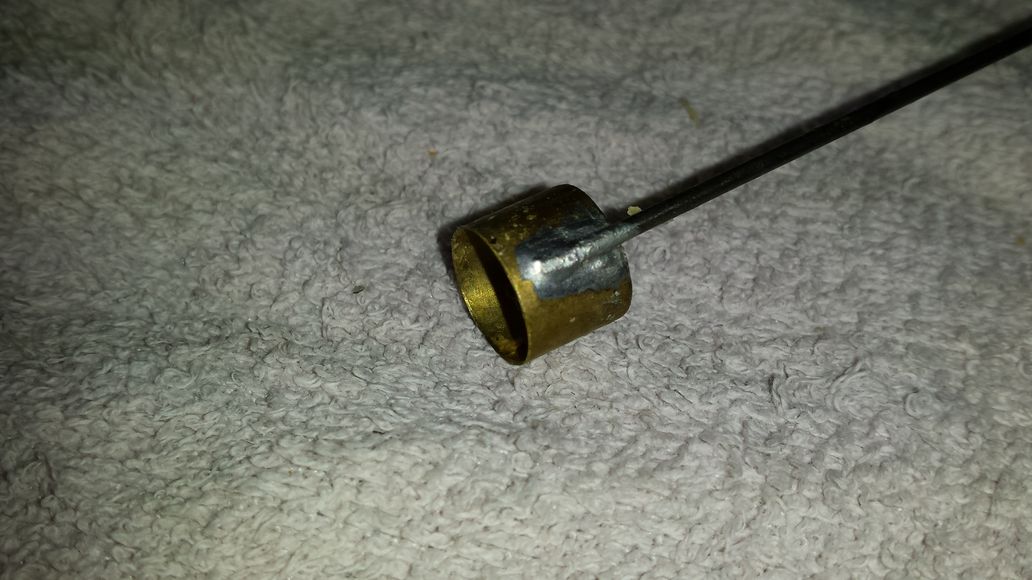
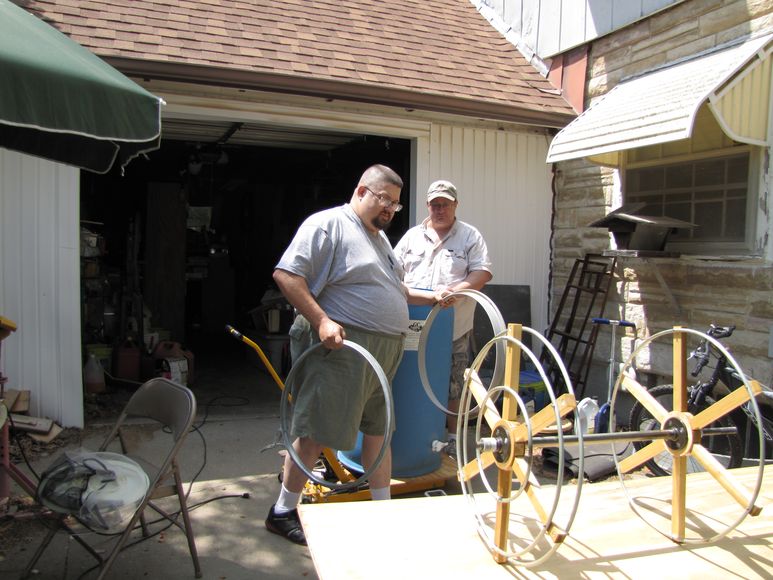
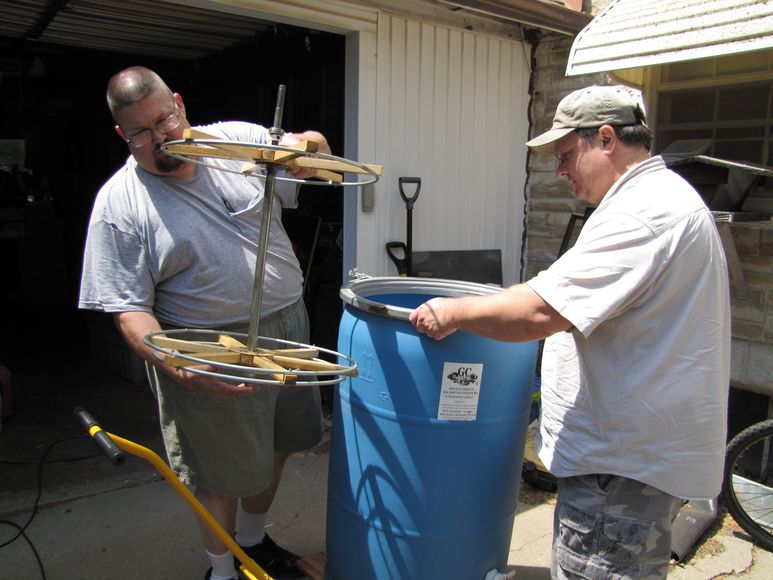
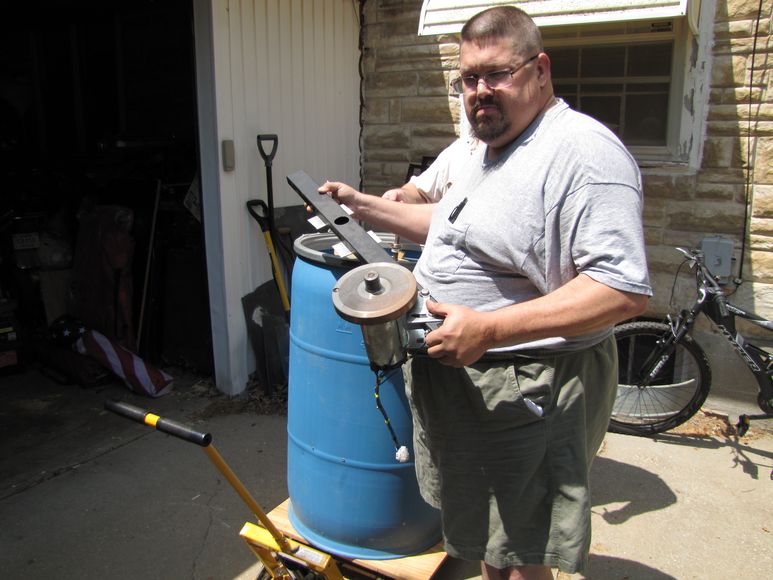
I put together an extractor inspired by ideas I had seen on the Beesource forums.  The speed control for the treadmill makes the speed adjustment anywhere from "barely turning" to "frightening."  I made the reel by first constructing a couple of 6-spoked wheels from poplar.  The rings are 5/16" Steel brake line, soldered together with a copper insert (lead free solder, if you please.)  The shaft is made of a piece of 1/2" water pipe, which just so happens to let a 5/8" bolt fit inside of it tightly (I'm not interested in explaining why, it just does, at least with the stock in my part of the world.  Suffice it to say it is somewhat like why a 2X4 isn't 2 inches by four inches in size, it's 1-3/4" by 3-1/2")  The one I had let me "thread" a 5/8" bolt into it for bearing shafts for the bottom, and for the top I drove a 5/8" bolt with the head cut off into the end of the pipe, drilled a cross hole for a roll pin to secure it and provide the threads for the pulley.  A couple of flange fittings provide positive attachment to the wheels (by the way, I did have to re-thread the bottom flange so that the taper of the NPC pipe thread was the proper orientation, but I had the tap laying around and it made the flange fit perfectly.) Of course, all of this is covered by several coats of "camcoate" food grade epoxy.

Extrator_2 Extrator_3|

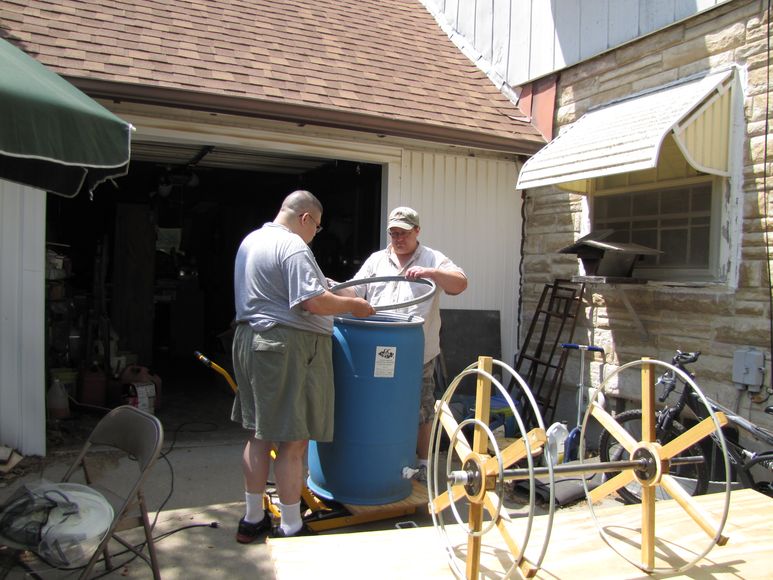
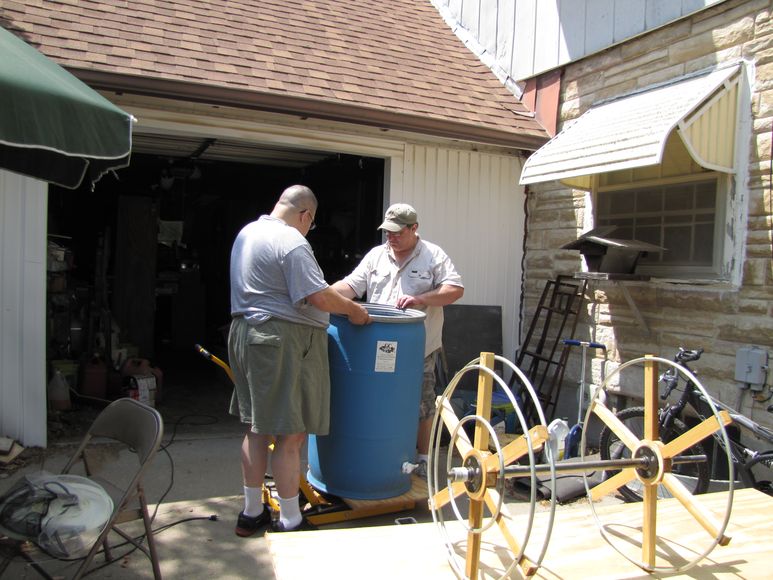
We're using a food grade barrel here (that originally held pickled jalapenos, gave it a 3 week soak in soda water to get rid of the jalapeno smell!)  Next I made a mount for a crossbar by welding two tabs on the barrel's ring, and cut most of the plastic lid center out.  I then made a bottom cross bar with a sealed bearing in the center, about 2/3rds the way down in the barrel to fit the reel size.

Extrator_4 Extrator_5

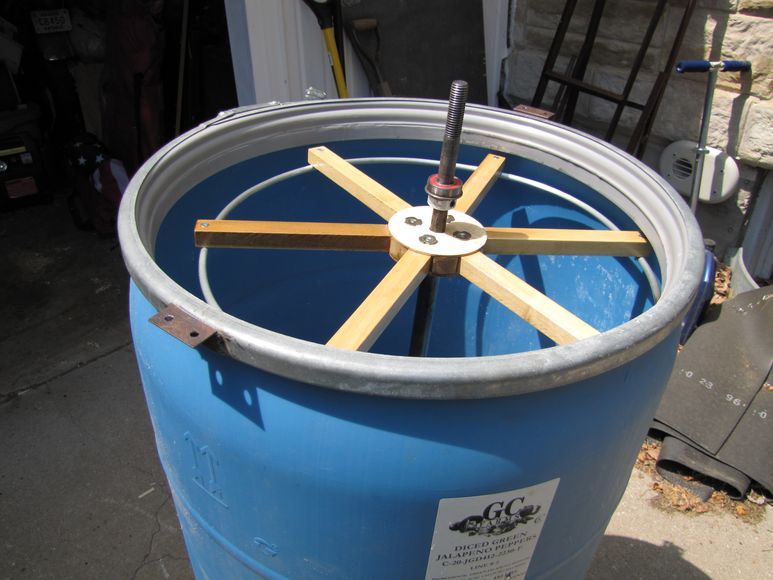
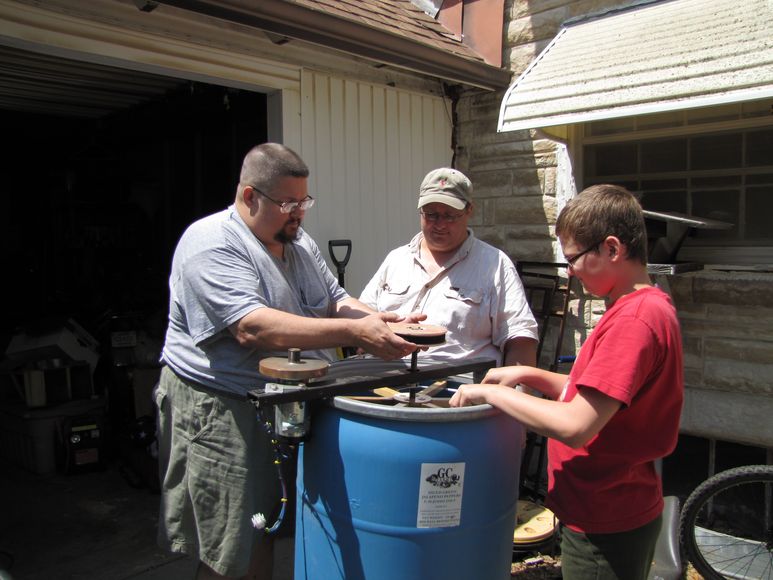
Set the reel inside the bottom bearing....

Extrator_6 Extrator_7

Place the top bearing in place on the shaft, and install the top crossbar with treadmill motor.

Extrator_8 Extrator_9
|

Extrator_11 Extrator_10

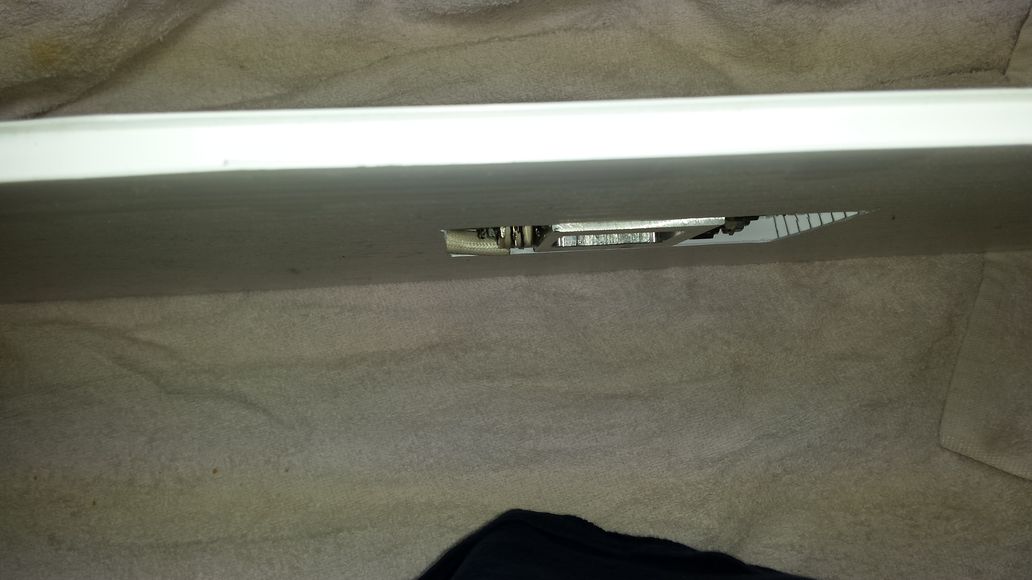
The top pulley was a problem, until I hit upon the following solution.  I knew I could source a belt with the same grooves for about any length I needed (and I had mounted the motor with the same tension adjustable bracket that was on the treadmill.  The treadmill belt was only about 6" or so in diameter.  So I turned it inside-out so the grooves were on the outside (I knew this would be the correct groove pitch for sure!,) cut a disc of 3/4" plywood that would fit tightly inside the belt (actually stretched over the plywood disc somewhat.)  I then added a top and bottom shoulder with 2 more discs of 1/4" plywood that had a slightly larger diameter.  I welded a 5/8" nut to a large diameter 5/8" washer, and bolted it to the pulley by drilling and tapping for 6-32 screws to mount through the washer to the pulley. I cut all the discs using a jig on my band saw with a 1/4" center hole.  This leaves a perfectly centered alignment hole to drill for the 5/8" shaft, so that you can bolt it all together on a 5/8" threaded bolt to align everything perfectly.

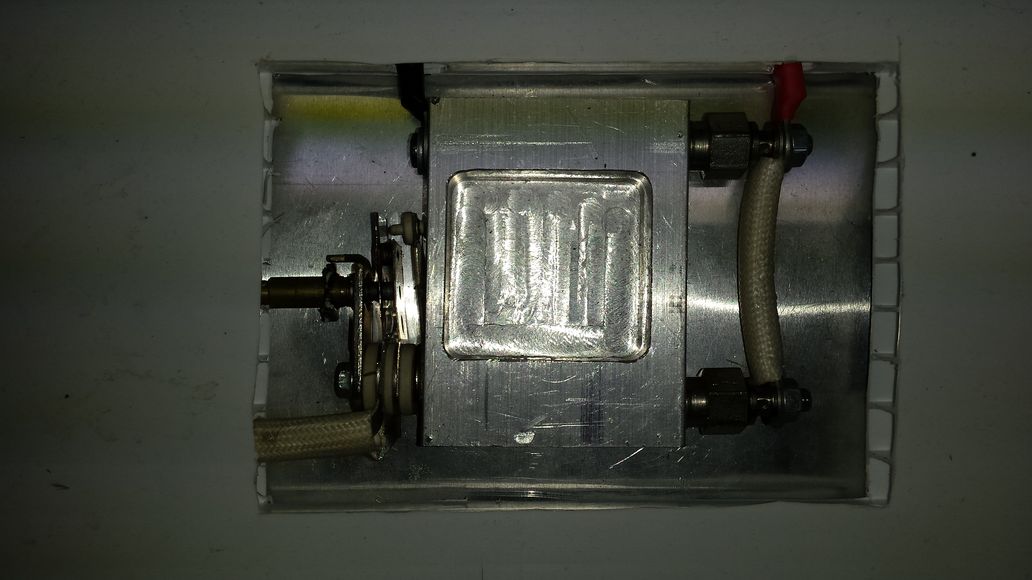
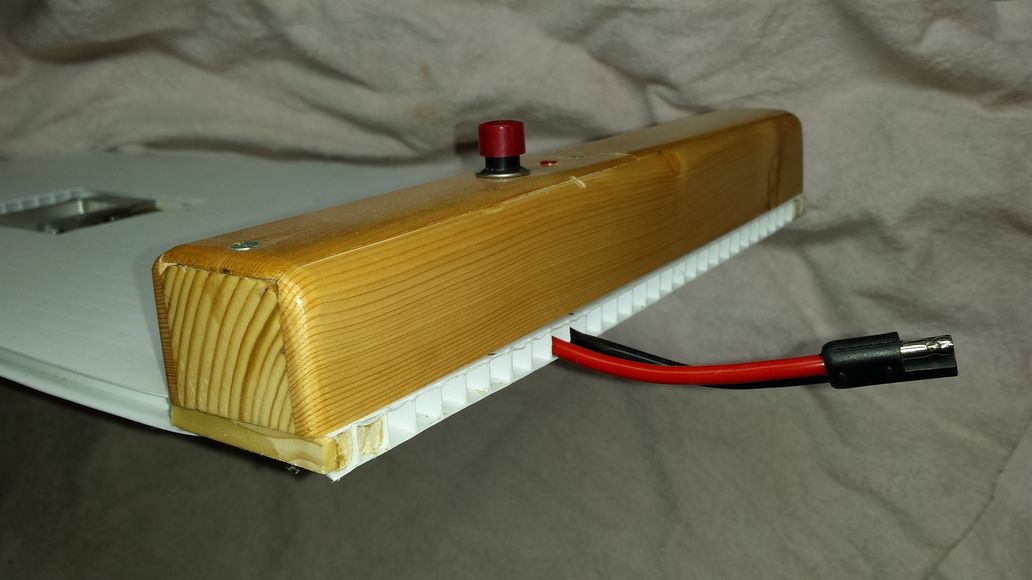
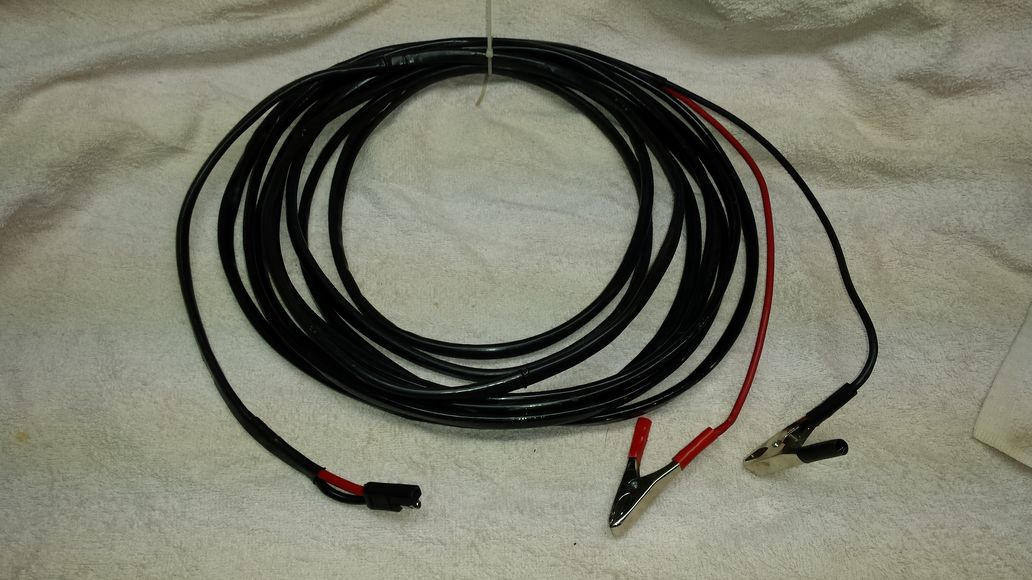
Put the top pulley in place by threading it on the shaft and securing it with a jam nut.  Install the control box by bolting it to the crossbar, and plugging in the motor wiring.  All the controls were hacked from the treadmill.  It will not start unless it is plugged in with the speed control to "off."  If it is even the slightest bit turned on, plugging it in will not allow the motor to start.  This is a nice feature, and it's a standard one with the treadmill controller, along with the "soft" start feature that avoids the jerking the reel slower and faster.

Extrator_12 Extrator_1

Anyway, it works quite well, and I look forward to using for many seasons to come!

My son Alfred won a purple ribbon at the Kansas State Fair last year for his speech on "How to get started beekeeping" and I finally got around to editing a version of it that he gave for the Church Youth group that has intelligible audio.  He'd just turned 12 when he gave it at the fair.

Hope you enjoy it; we're really proud of him!

I've been experimenting with various types of foundationless frames.  I've used the Popsicle stick in the groove, Kelley F-type foundationless frames, and a couple of my own design.  All work, but I've had the best luck with the bees building straight, even comb with the following design (sorry, this is a used frame that I took cut-comb honey from, I didn't take any pictures before I used 'em):

Bee Projects 042_resultBee Projects 043_result

Bee Projects 045_resultBee Projects 044_resultT

The top bar is cut @ a 45 degree angle, and one of the scraps from those cuts is used as a triangular bottom bar.  My first frames didn't use the triangle bottom bar, but after trying it out, I find that the bees attach the comb to the bottom much more quickly and regularly than frames with a flat bottom bar.

I have standardized my hives to be top entrance only, with a screened bottom board that is closed by a piece of 1/2" coroplast.  I designed my vaporizer to slide in in place of the bottom board.  This way I can go out in the morning before the ladies are flying, turn the top cover/entrance over which seals the hive closed.  I then pull out the coroplast bottom board to prevent overheating.  I can now get setup to vaporize the hive.

I had a friend mill and aluminum block for a vaporizing chamber, and drilled and tapped it to fit 2 autolite 1104 glow plugs.

Bee Projects 016_result Bee Projects 014_result

I used the thermostat from a household iron to ground the coil of a relay, and wired the glow plugs through the relay output.  I then used a push-button switch and a feedback loop on the relay, so that it stays on once the push-button initiates it, and only goes off when the ground to the coil is lost by the Thermostat opening.  The relay coil only draws about 150 mA, so it probably wouldn't be necessary, but I wired a diode in flyback configuration across the coil of the relay, which will prevent any spark at the contact points of the thermostat from the reverse voltage spike induced by the collapse of the relay field coil. A light to show when the unit is heating completes the wiring.

I mounted the switch, light, relay, diode, and associated wiring in a wooden control box I mounted on one end of the slide in board.  The wiring to the heated unit conveniently runs in the channels of the cloroplast, making for a neat package.

Bee Projects 020_result Bee Projects 011_result

The heated aluminum block is mounted to a piece of 16 gauge aluminum sheet stock (I used an aluminum restaurant pan from a big box store and cut out what I needed.)  I then used heat resistant silicone to "glue" the aluminum sheet to the slide in board.  You want to lay the board top down on a flat surface, and then put a thick silicone bead around the outside edge of where the aluminum plate will be.  You then just lay the aluminum plate/ heater unit top down, so that the silicone sets with the top of the heating unit absolutely flush with the top of the slide in board.  Let it dry overnight so the silicone sets, before wiring everything up.

Bee Projects 021_result Bee Projects 022_result


Bee Projects 023_result Bee Projects 024_result

A 25ft., 10 gauge extension cord lets me reach all the hives in my apiary from the battery in my golf cart / bee wagon.

Bee Projects 025_result


Future enhancements include a foam "seal" at the back in front of the control box to more completely seal the hive, and another button style thermswitch and a green light to indicate when the unit has cooled to 200 degrees F or so and it's safe to add the next load of Oxalic acid.  Using this system, you could treat the hives fairly efficiently, and it would save power not having to completely heat up the aluminum block again.  Any, let me know what you think!

Here's a video of me testing the prototype.


I wanted to expand my apiary with locally raised queens, and since I don't know anyone around that sells queens, that means trying to encourage the bees to make them for me.  And of course, all the wonderful opportunities to "fabricate!" I tried last year with the cell punch method and Cloake board starter finisher system.  However, weather conditions turned cold on me and my starter wasn't strong enough, so no queens last year.  But here's the cell punch tool I made:

Bee Projects 039_result Bee Projects 037_resultBee Projects 038_result

It's the mouth of a .45 caliber brass cartridge, with a piece of 1/16" music wire silver soldered on to it.  A short piece of dowel with a hole drilled and appropriately smoothed and rounded, a little epoxy to mount the wire in the handle, and you're done.

So, this time I decided to try my hand at grafting as well (and a stronger hive to start and finish them in, using the Cloake board again.)  And in order to graft, you have to have cells for grafting into, grafting frames, etc  So I started by making something to melt my wax conveniently.  I made this "hot plate" out of an old discarded coffee maker mounted in a wooden box (with the proper insulation so as not to be a fire hazard.)  It works with or without a water bath (I usually use a water bath when I'm cell punching as it helps to dip the punch in hot water before using it.)  I use a glass eye-dropper to drop hot wax to "glue" the cell punches (or homeade queen cups, see below)  to the cell bars.

 Bee Projects 007_result

Below is my queen cup making setup.  The block with six 5/16" dowels rounded on the tips is my queen cup mold.  I dip all six in the hot wax 3 to 4 times to form the cup, and after the last dip I immediately press them onto the wooden blocks that are sitting on a foam block.  After the wax sets (a few seconds) I then dip the entire ensemble back in the wax a couple of times, wood block and all.  After the wax has set I scrape off the bottom of the wood block (although I wouldn't probably need to.)

Bee Projects 006_result

Now, for the grafting and punching process.  It is imperative that you be able to see young larvae to graft, but when your eyes are older, you need help.  I use an eyeglasses loupe which works well for magnification, but lighting was still a problem.  So I decided to make a headlamp to help with some bright hands-free illumination.  I constructed this out of a couple of discount tool house free flashlights (like one of those places where cargo ships.....never mind,) a discarded luggage strap, some velcro, and miscellaneous wire, zip ties, shrink tubing, and scrap wood.

Bee Projects 031_result Bee Projects 032_result

Bee Projects 033_result Bee Projects 034_result

Ok, so now we are ready to graft.  First, I did 10 cell punches and put them on the bottom bar of the grafting frame, thinking that they were less susceptible to drying out than the grafts, so do the grafts last.  Of course, you want to keep them covered with damp towels until ready to put into the starter hive.  I then used a Chinese grafting tool to graft 10 of the smallest larvae I could find.  Stuck them in my strong hive that had the queen sequestered in the bottom box and all the nurse bees in the top boxes, with the Cloake board separating them.  10 days later I had this:

001_result

And then 2 days later, I took out the hatched cells.  The 3 top cells were grafts, and the 2 bottom ones were cell punches.  I had put 8 cells in 6 breeding nucs, and gave the rest away to fellow beeks.  I had 5 hatch successfully:

Bee Projects 040_result

and 2 had been destroyed by their sisters who hatched first (in the 2 nucs that I had doubled up the cells.)

Bee Projects 041_result Future plans include confining my breeder queen using this cage made from #5 hardware cloth (workers can get through, but the queen can't) some wood scraps, and some frame nails (of which I have plenty, as Kelley's sends nails with their frames, and I assemble with a pneumatic stapler.)  In the background is the piece of foam insulation I use to safely store the cage when not in use.

Bee Projects 008_result Bee Projects 009_result

Happy beekeeping,

Matt


My name is Matt Mannell, and I started beekeeping in 2009  with a Top Bar hive.  I now keep both Top Bars and 8-frame medium "Langstroth" style hives.  My son Alfred helps me with the bees when I can convince him to.

I'm a tinkerer and inventor by nature, and I started this site to catalog some of my beekeeping DIY projects.  Hope you enjoy it!