I wanted to expand my apiary with locally raised queens, and since I don't know anyone around that sells queens, that means trying to encourage the bees to make them for me. And of course, all the wonderful opportunities to "fabricate!" I tried last year with the cell punch method and Cloake board starter finisher system. However, weather conditions turned cold on me and my starter wasn't strong enough, so no queens last year. But here's the cell punch tool I made:
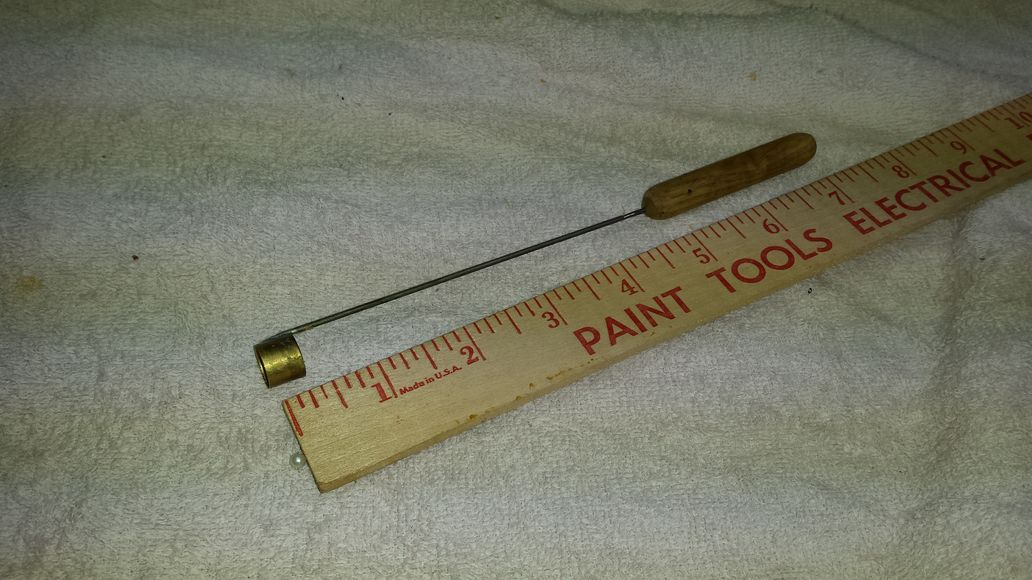
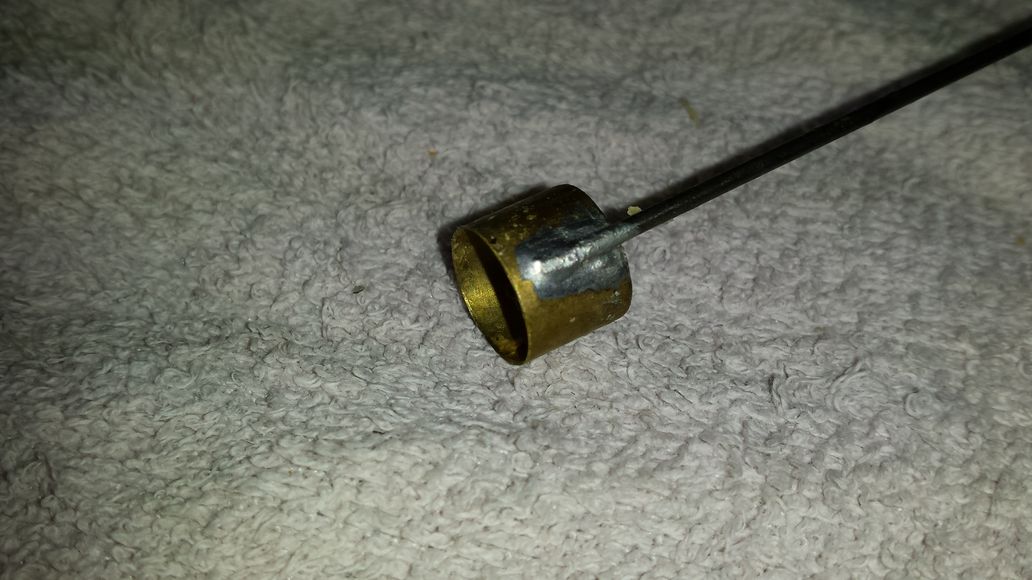
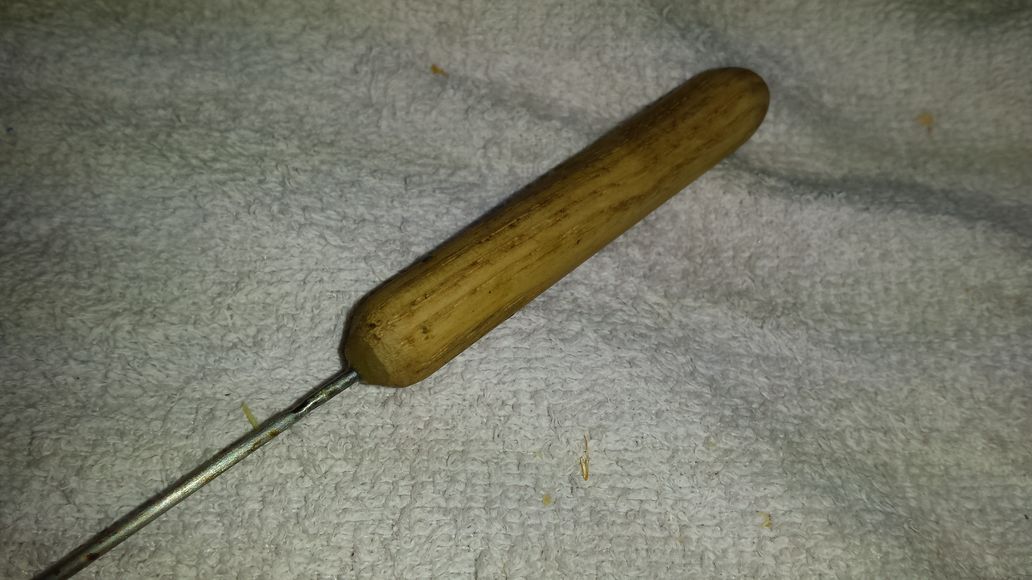
It's the mouth of a .45 caliber brass cartridge, with a piece of 1/16" music wire silver soldered on to it. A short piece of dowel with a hole drilled and appropriately smoothed and rounded, a little epoxy to mount the wire in the handle, and you're done.
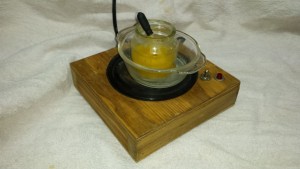
So, this time I decided to try my hand at grafting as well (and a stronger hive to start and finish them in, using the Cloake board again.) And in order to graft, you have to have cells for grafting into, grafting frames, etc So I started by making something to melt my wax conveniently. I made this "hot plate" out of an old discarded coffee maker mounted in a wooden box (with the proper insulation so as not to be a fire hazard.) It works with or without a water bath (I usually use a water bath when I'm cell punching as it helps to dip the punch in hot water before using it.) I use a glass eye-dropper to drop hot wax to "glue" the cell punches (or homeade queen cups, see below) to the cell bars.
Below is my queen cup making setup. The block with six 5/16" dowels rounded on the tips is my queen cup mold. I dip all six in the hot wax 3 to 4 times to form the cup, and after the last dip I immediately press them onto the wooden blocks that are sitting on a foam block. After the wax sets (a few seconds) I then dip the entire ensemble back in the wax a couple of times, wood block and all. After the wax has set I scrape off the bottom of the wood block (although I wouldn't probably need to.)
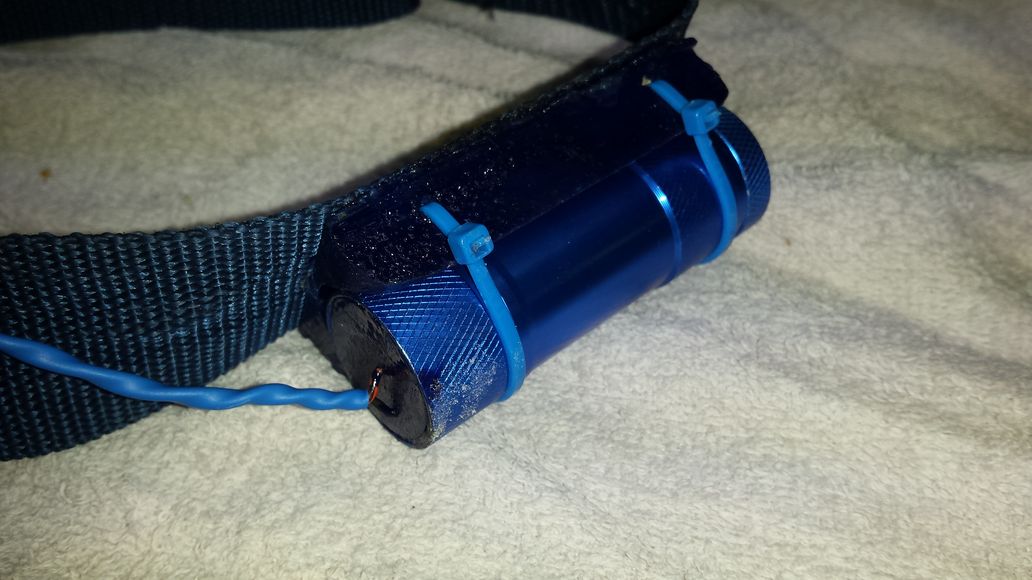
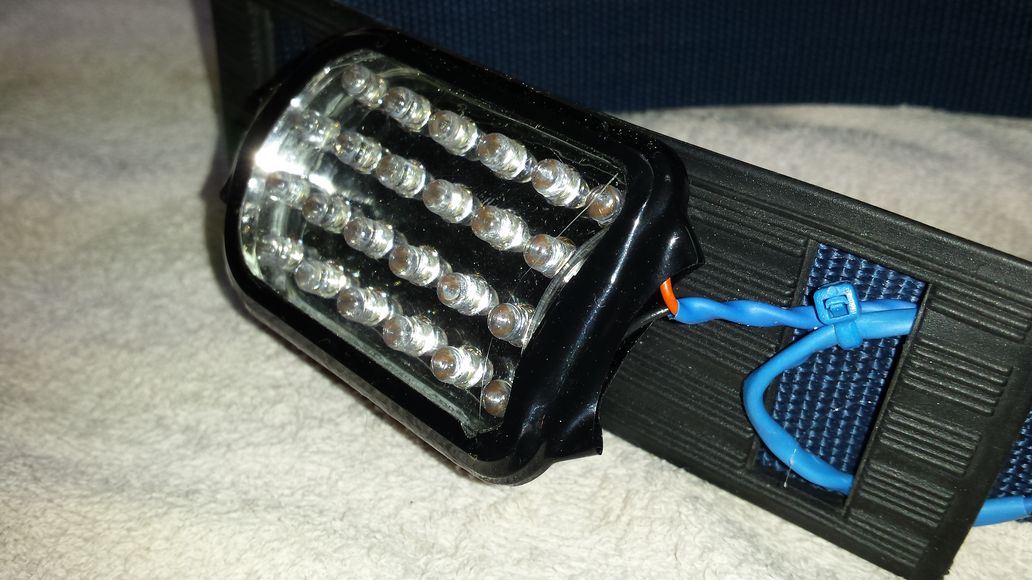
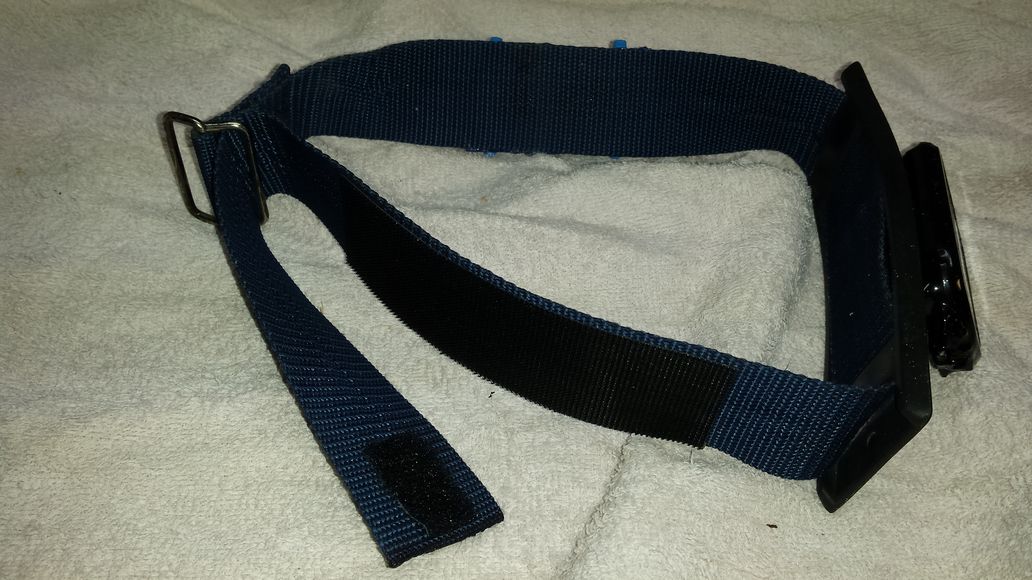
Now, for the grafting and punching process. It is imperative that you be able to see young larvae to graft, but when your eyes are older, you need help. I use an eyeglasses loupe which works well for magnification, but lighting was still a problem. So I decided to make a headlamp to help with some bright hands-free illumination. I constructed this out of a couple of discount tool house free flashlights (like one of those places where cargo ships.....never mind,) a discarded luggage strap, some velcro, and miscellaneous wire, zip ties, shrink tubing, and scrap wood.

Ok, so now we are ready to graft. First, I did 10 cell punches and put them on the bottom bar of the grafting frame, thinking that they were less susceptible to drying out than the grafts, so do the grafts last. Of course, you want to keep them covered with damp towels until ready to put into the starter hive. I then used a Chinese grafting tool to graft 10 of the smallest larvae I could find. Stuck them in my strong hive that had the queen sequestered in the bottom box and all the nurse bees in the top boxes, with the Cloake board separating them. 10 days later I had this:
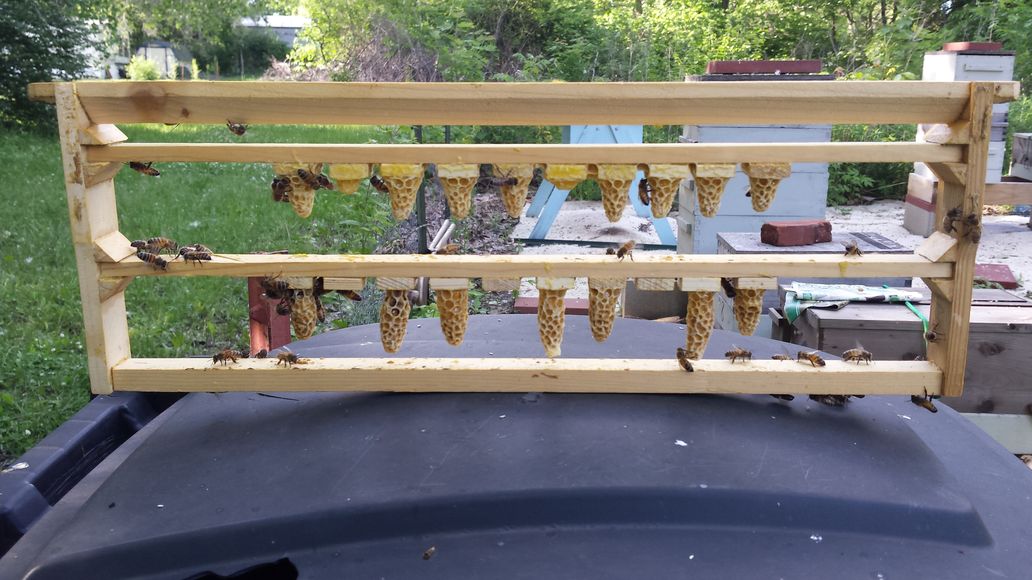
And then 2 days later, I took out the hatched cells. The 3 top cells were grafts, and the 2 bottom ones were cell punches. I had put 8 cells in 6 breeding nucs, and gave the rest away to fellow beeks. I had 5 hatch successfully:

and 2 had been destroyed by their sisters who hatched first (in the 2 nucs that I had doubled up the cells.)
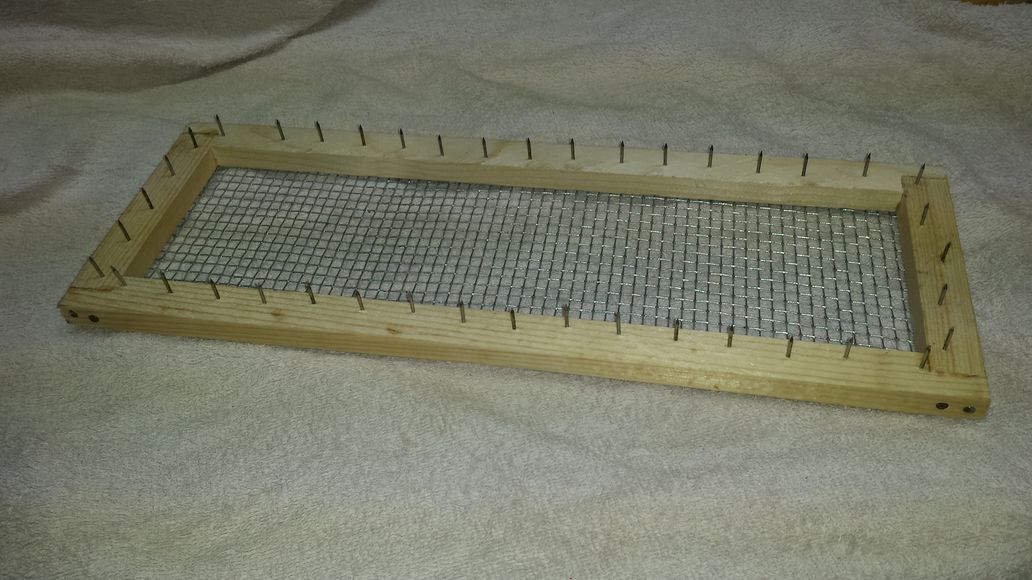
 Future plans include confining my breeder queen using this cage made from #5 hardware cloth (workers can get through, but the queen can't) some wood scraps, and some frame nails (of which I have plenty, as Kelley's sends nails with their frames, and I assemble with a pneumatic stapler.) In the background is the piece of foam insulation I use to safely store the cage when not in use.

Happy beekeeping,
Matt