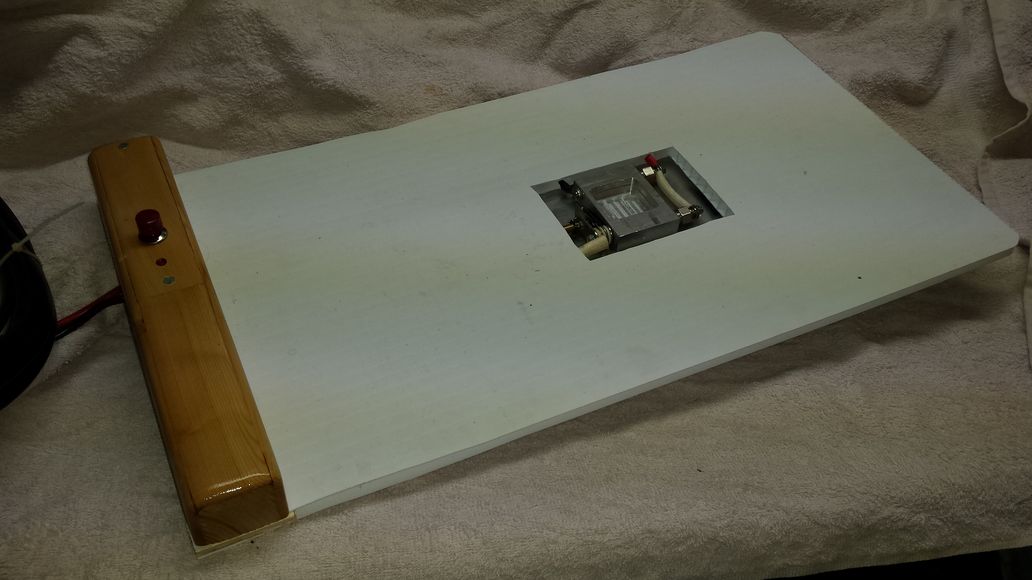
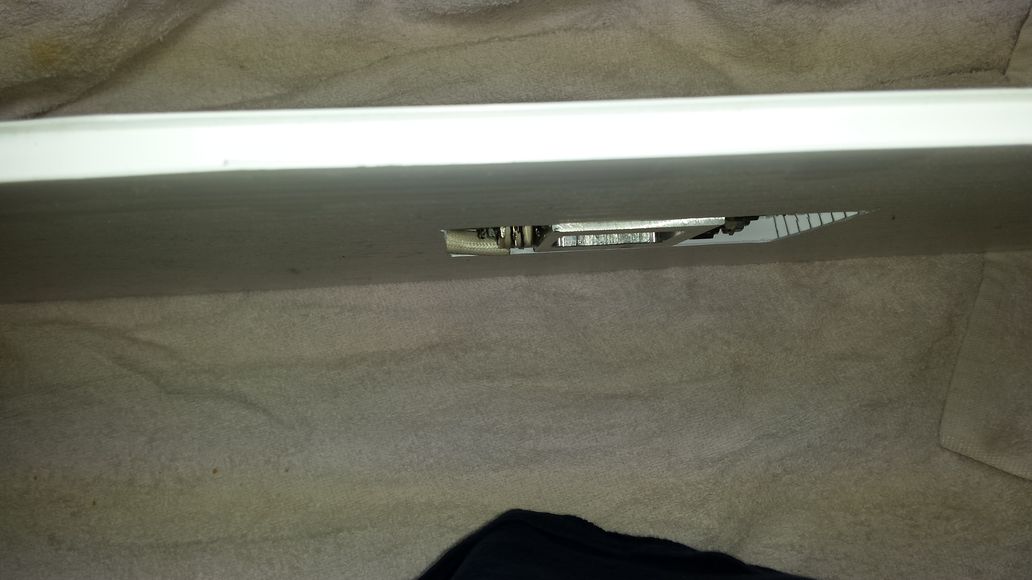
I have standardized my hives to be top entrance only, with a screened bottom board that is closed by a piece of 1/2" coroplast. I designed my vaporizer to slide in in place of the bottom board. This way I can go out in the morning before the ladies are flying, turn the top cover/entrance over which seals the hive closed. I then pull out the coroplast bottom board to prevent overheating. I can now get setup to vaporize the hive.
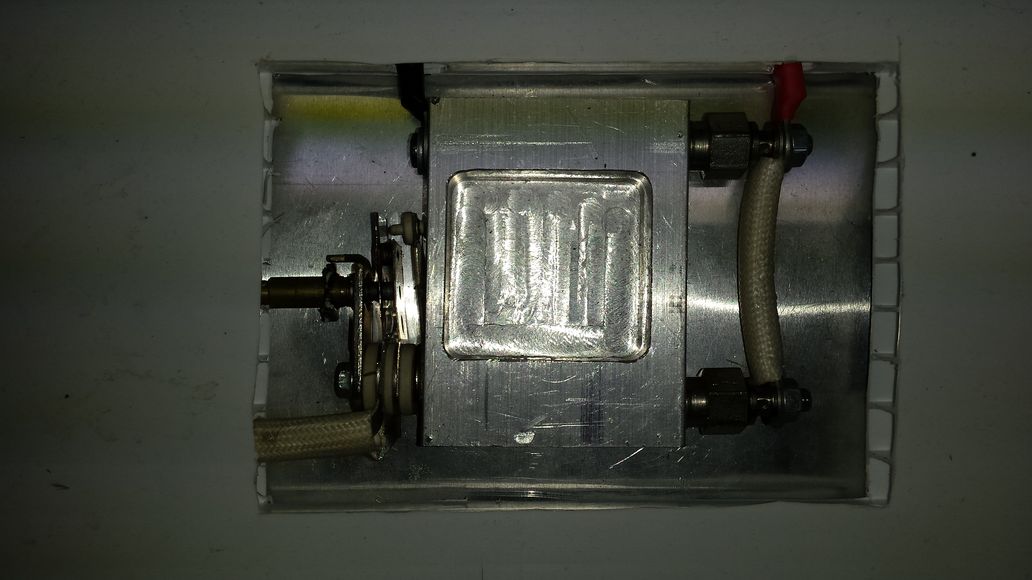
I had a friend mill and aluminum block for a vaporizing chamber, and drilled and tapped it to fit 2 autolite 1104 glow plugs.

I used the thermostat from a household iron to ground the coil of a relay, and wired the glow plugs through the relay output. I then used a push-button switch and a feedback loop on the relay, so that it stays on once the push-button initiates it, and only goes off when the ground to the coil is lost by the Thermostat opening. The relay coil only draws about 150 mA, so it probably wouldn't be necessary, but I wired a diode in flyback configuration across the coil of the relay, which will prevent any spark at the contact points of the thermostat from the reverse voltage spike induced by the collapse of the relay field coil. A light to show when the unit is heating completes the wiring.
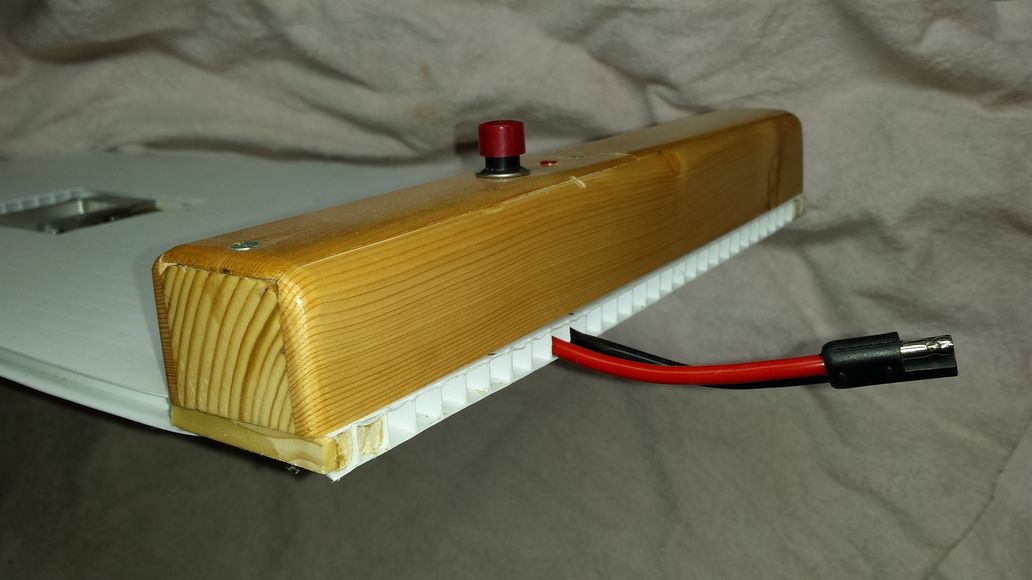
I mounted the switch, light, relay, diode, and associated wiring in a wooden control box I mounted on one end of the slide in board. The wiring to the heated unit conveniently runs in the channels of the cloroplast, making for a neat package.
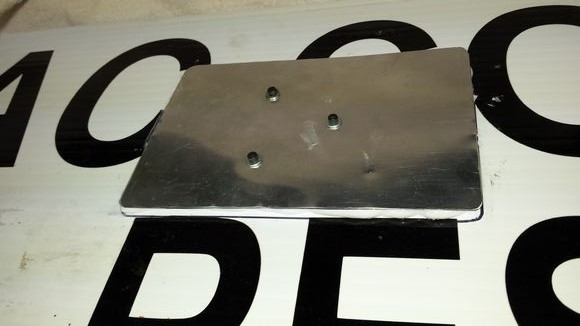
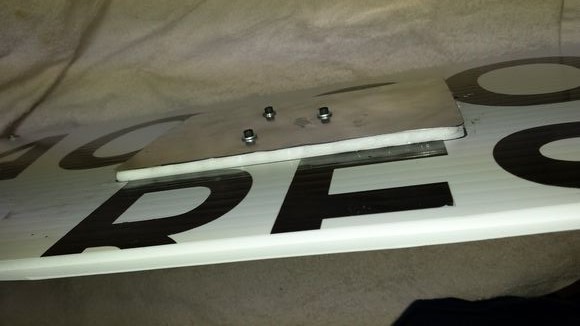
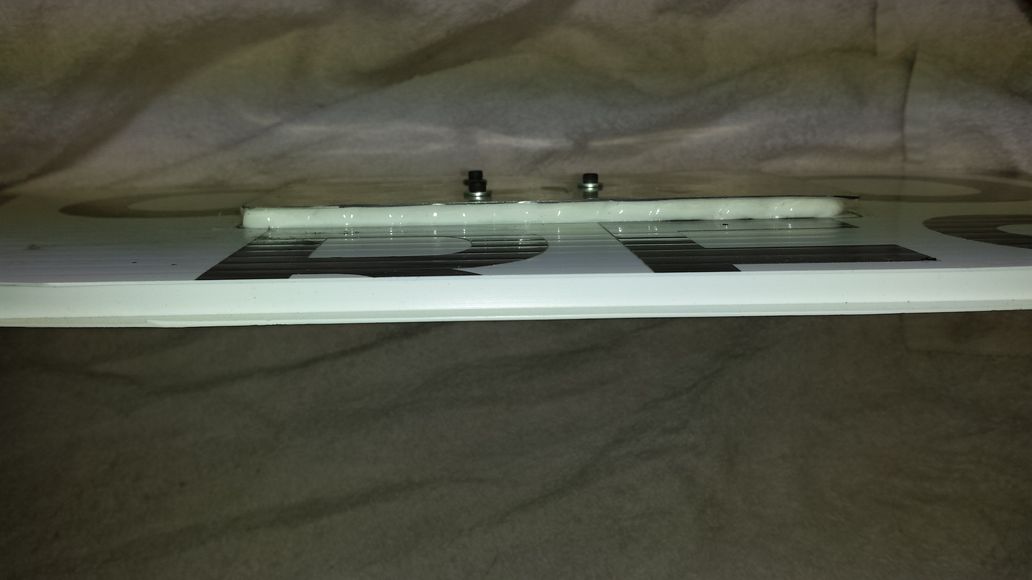
The heated aluminum block is mounted to a piece of 16 gauge aluminum sheet stock (I used an aluminum restaurant pan from a big box store and cut out what I needed.) I then used heat resistant silicone to "glue" the aluminum sheet to the slide in board. You want to lay the board top down on a flat surface, and then put a thick silicone bead around the outside edge of where the aluminum plate will be. You then just lay the aluminum plate/ heater unit top down, so that the silicone sets with the top of the heating unit absolutely flush with the top of the slide in board. Let it dry overnight so the silicone sets, before wiring everything up.
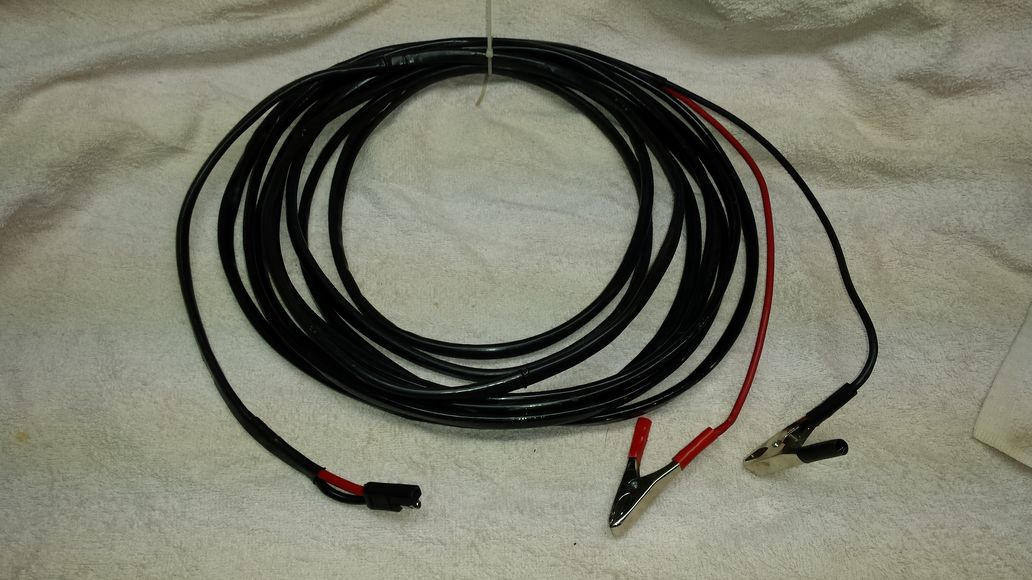
A 25ft., 10 gauge extension cord lets me reach all the hives in my apiary from the battery in my golf cart / bee wagon.
Future enhancements include a foam "seal" at the back in front of the control box to more completely seal the hive, and another button style thermswitch and a green light to indicate when the unit has cooled to 200 degrees F or so and it's safe to add the next load of Oxalic acid. Using this system, you could treat the hives fairly efficiently, and it would save power not having to completely heat up the aluminum block again. Any, let me know what you think!
Here's a video of me testing the prototype.